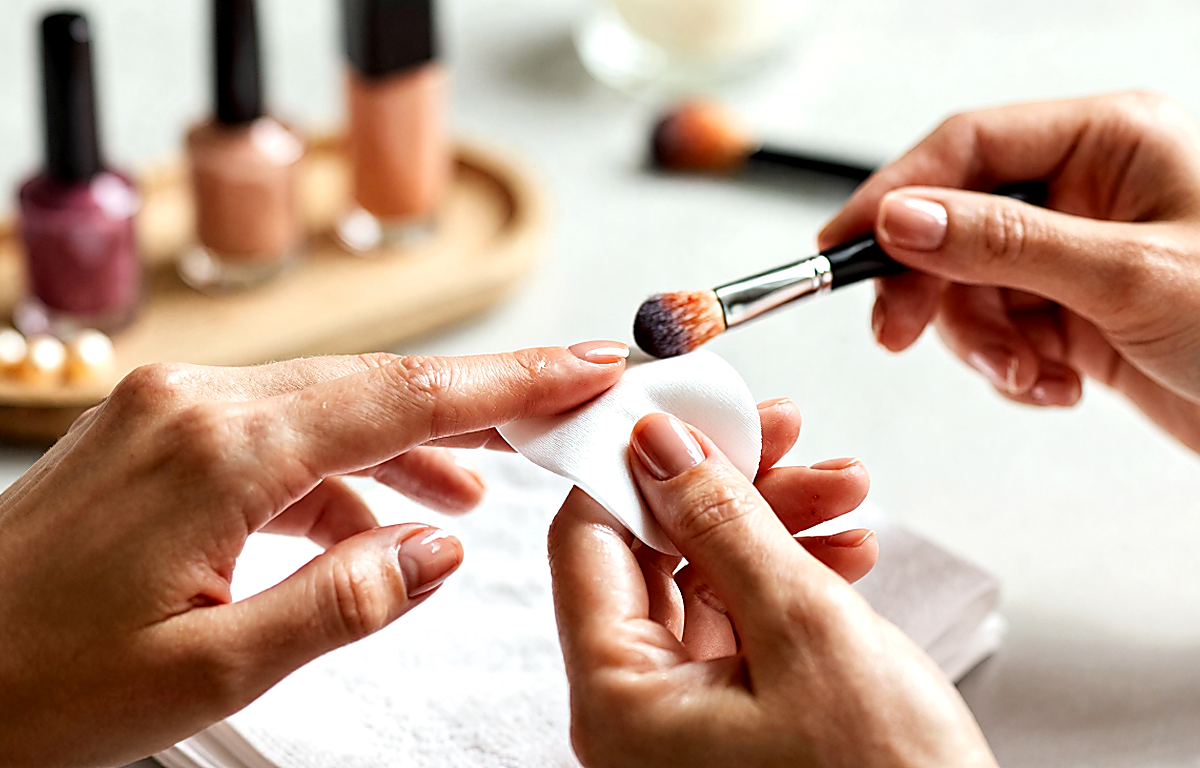
If your nails are thin, soft, bend easily, and chip quickly, a base coat is not an optional step but the foundation of a neat manicure. It is the layer that separates the nail plate from colored polish pigments, helps smooth the surface, reduces the risk of staining, makes adhesion more predictable, and often helps even regular polish last longer. This matters especially for thin nails: they need more than shine—they need gentle protection without extra stiffness, heaviness, or irritation.
The main rule for choosing is simple: thin nails usually do better with base coats that have a moderately elastic, not overly thick texture that smooths the nail plate without turning it into a thick “shell.” Formulas that are too hard and dense can feel uncomfortable on a flexible nail plate, while formulas that are too watery provide almost no support. A good base coat should dry evenly, not pull the nail tight, not increase brittleness, and fit your manicure routine: under regular colored polish, under a nude shade, for sensitive nails, or for short soft nails that often peel at the edge.
Why Thin Nails Specifically Need a Base Coat
Thin nails react more easily to everyday stress: they bend while typing, when in contact with water, during cleaning, or when opening packaging. Even if the nail plate looks smooth, it may still have micro-unevenness and a vulnerable free edge. Without a base coat, colored polish goes on less reliably: pigment can sink in, the coating can chip faster, and the surface can look even more uneven.
What a base coat does in practical terms:
- creates an intermediate layer between the nail and colored polish;
- improves adhesion between the coating and the nail plate;
- reduces the risk of yellowing and staining after bright, dark, and red shades;
- partly smooths ridges and roughness;
- helps polish spread in a thinner, neater layer;
- can make a fragile free edge look visually denser;
- makes a manicure last longer without feeling overloaded.
For thin nails, a base coat is also important because it improves the whole manicure technique. When the first layer is chosen well, there is less temptation to apply too much color just to hide imperfections in the nail plate. And the fewer unnecessary layers and aggressive removal methods you use, the more comfortable it is for your nails in the long run.
What Types of Base Coats There Are and How They Differ
The name “base coat” often covers products with different purposes. For thin nails, it is better to understand not the marketing promises but the working logic of the formula.
Classic clear base coat. The most universal option. Usually this is a light layer that improves polish adhesion and protects from pigment. It works well if your nails are thin but relatively smooth and without pronounced texture.
Smoothing base coat. It usually has a denser texture and can slightly fill ridges and visually smooth the surface. It is a good option if your nails are thin and also uneven, with vertical lines or traces of old trauma. What matters is that it should not be excessively thick or rigid.
Strengthening base coat. This name is very common, but it should be interpreted carefully. Usually it does not mean “treatment,” but rather a stronger film that helps the nail deform less while worn. Thin nails do better with moderate strengthening formulas, not with the hardest possible coatings that conflict with the nail plate’s natural flexibility.
Camouflage or milky base coat. It adds a light tint and makes hands look neater even without bright color. It is convenient if you like a natural manicure and want to reduce the number of layers. For thin nails, this is a plus: less coating means less risk of overloading the nail plate.
2-in-1 base coat. It combines the properties of a base coat and a light tinted coating. It suits a minimalist routine, but the formula should not be too visually thick or emphasize lifting at the edge of the nail.
If you prefer a basic approach to care and try not to overload your routine with unnecessary steps, the logic here is similar to any smart beauty choice: one product should solve a specific problem instead of promising everything at once. This principle works well in other care categories too: for example, when building a clear facial skincare routine, the function of each step matters more than loud promises on the packaging. You can read more about that approach here: how to build a basic skincare routine for your face.
What to Look for When Choosing a Base Coat for Thin Nails
When shopping, focus not on the word “strengthening” itself, but on how the base coat behaves on a thin nail plate. There are several criteria that are genuinely useful.
- Texture. Medium is best: not too runny, so it does not sink into unevenness, and not too thick, so it does not create a bulky edge.
- Flexibility of the coating. For flexible nails, comfort while wearing matters more than absolute hardness.
- Smoothing effect. If there are ridges and waviness, a base coat with a gentle smoothing effect is better than one that is simply clear and watery.
- Drying speed and evenness. A base coat that sets too slowly increases the risk of smudging and extra layers.
- Finish after the first coat. It is a good sign if the nail already looks smoother after one thin application.
- Compatibility with your polish. Even a good base coat can clash with specific colored polishes if they shrink strongly or take too long to dry.
- Comfort. Burning, a feeling of tightness, itching, or obvious chemical discomfort are reasons to stop using it.
A practical guideline is this: if after your manicure your nails look slightly smoother, the free edge catches less, the color goes on thinly, and it lasts longer without feeling like a heavy layered coating, the base coat suits you. If the coating quickly cracks across the nail, looks too thick, or starts peeling off in sheets, the formula is probably too rigid or simply a poor match for your nails.
Which Ingredients and Claims to Assess Without Illusions
On base coat packaging, you often see words like “calcium,” “keratin,” “vitamins,” “strengthening,” and “repair.” They may be part of the formula and the marketing concept, but it is important to understand the limits of what to expect. A nail base coat is first and foremost a decorative protective product. It should not be seen as treatment for nail disease and does not replace professional advice if you have marked brittleness, deformation, color changes, pain, or inflammation.
It is more useful to judge not the volume of the promise but how the coating behaves:
- does it leave the nails yellow after removal;
- does it dry out the free edge;
- does it chip off in large flakes;
- do the nails become even more fragile after several manicure cycles;
- does the base coat require overly aggressive removal.
Be cautious with the idea that “the stronger it strengthens, the better.” For thin nails, an overly hard film may be a problem rather than an advantage: the nail stays flexible, but the coating does not. The result can be micro-cracks, chips along the sides, or a feeling of tension at the free edge.
The sensitivity of the skin around the nails and everyday habits also matter. If you wash your hands often, come into contact with household chemicals, or like very hot water, even a good base coat will be under more stress. In that case, durability depends not only on the formula but also on your daily routine.
How to Tell That a Base Coat Is Not Right for You
An unsuitable base coat does not always show itself right away. Sometimes the first manicure looks beautiful, and the problems only become obvious after a few days or after several repeats. For thin nails, early warning signs are especially important.
The following signs should make you cautious:
- the polish chips off in large pieces together with the base coat;
- white peeling areas quickly appear at the free edge;
- after removal, the nails seem drier and more brittle than before the manicure;
- the coating feels tight on the nail plate, especially on short nails;
- there is marked burning during application or redness of the surrounding skin;
- bright polish still stains the nail despite the base coat layer;
- you have to apply too much product to get a neat result.
If you notice persistent burning, pain, swelling, increasing irritation, changes in nail shape, suspected infection, or a nail plate disorder, it is better not to experiment with new coatings and to see a doctor. Extra caution is also appropriate during pregnancy, with high sensitivity to smells and active ingredients, and if you use products with retinoids and the skin around your nails has become noticeably more reactive.
How to Apply a Base Coat So Thin Nails Look Better, Not Heavier
Even a good base coat will disappoint if you apply it too generously. For thin nails, the rule of thin, careful layers almost always works best.
- Prepare your nails gently, without aggressive filing of the surface. It is enough to remove visible dust, shape the nails, and make sure the plate is dry.
- Apply the base coat in a thin, even layer, especially near the cuticle and along the sides. One thick coat often leads to lifting faster than two thin ones.
- If the nail is uneven, add just a tiny amount of base coat to the center rather than turning the entire layer into a thick build-up.
- Let the base coat set properly before applying color. Rushing often leads to bubbles and smudging.
- Choose 1–2 coats of colored polish instead of three dense ones if the base coat has already slightly smoothed the nail and softened its tone.
- Do not forget a top coat if you want to extend wear: it takes on part of the everyday stress.
For short thin nails, a combination of “smoothing base coat + semi-sheer shade + top coat” often works well. For long soft nails, it is better to make sure the free edge does not stay too thin or catch on things: the base coat should provide support, but without bulky thickness at the tip.
Removal is also critical. Do not peel the coating off with your hands, even if it has started to lift. For a thin nail plate, this is one of the fastest ways to cause extra thinning, roughness, and brittleness.
Popular Base Coat Formats for Different Situations
Shoppers often find it easier to choose not by brand but by real-life situation. Here are the formats that usually prove most convenient.
If your nails are thin and smooth, but polish does not last well.
A classic adhesive base coat with medium density will work. Its task is to improve adhesion and protect from pigment without making the coating thicker.
If your nails are thin and textured.
Look for a gently smoothing base coat that slightly evens out the surface. It is important that it not be overly rigid.
If you want the most natural look possible.
A milky, semi-sheer, or camouflage base coat helps you wear a neat manicure even without bright color. This is convenient when you want to reduce the number of layers.
If your nails are short and often peel at the edge.
Light, flexible base coats with good coverage over the free edge usually work better than very hard formulas that crack when the nail bends.
If your nails are sensitive to smells and formulas.
It is worth choosing formulas with comfortable application, testing them gradually, and not using several new products in one manicure. That makes it easier to understand what exactly is causing a reaction.
If you wear bright and dark polishes.
You need a base coat with good pigment protection. This is exactly where a clear first layer is especially important so the nail does not become stained after burgundy, blue, green, or red polish.
Common Mistakes When Choosing a Base Coat for Thin Nails
Even a good product can seem disappointing if you look for it by the wrong criteria from the start. The most common mistakes look like this:
- Choosing by the rule “the densest must be the best.” For thin nails, excess density is not always a plus.
- Expecting a treatment effect from a decorative product. A base coat improves appearance and wear, but it does not replace diagnosing the causes of brittleness.
- Changing products too often. If you switch base coats with every manicure, it is hard to understand what really works.
- Ignoring application technique. A thick layer near the cuticle and on the edge often ruins wear time even with a good formula.
- Harsh removal. This often creates the impression that “the base coat ruined my nails,” when the main cause was mechanical trauma.
- Choosing only by visual effect. A glossy, very even finish does not necessarily mean your nails will feel comfortable in it for several days in a row.
It is useful to give any new base coat 2–3 careful tests with the same manicure routine. That is the only way to honestly judge whether it improves wear time, how it behaves after removal, and whether it changes the condition of the free edge.
Do Thin Nails Need a “Break” From Polish?
There is no universal rule. If the base coat, color, and removal method are chosen well, many people feel comfortable wearing a manicure regularly. But a pause can be helpful for thin nails if you notice dryness, marked peeling, increased sensitivity, or if you have been refreshing the coating frequently without a break. During such periods, it makes sense to reduce mechanical stress, use a gentler manicure routine, and observe the condition of the nail plate without multilayer coatings.
Another useful principle is seasonal flexibility. As with skin or hair care, needs can change: in winter nails often become drier, while in summer they come into more frequent contact with water, sunscreen, and household products. In beauty routines overall, the idea of adapting to the environment instead of sticking to one scenario all year long always works well. This approach is familiar in other care categories too, for example with lightweight summer body textures or anti-frizz hair products in humidity: light body cream for summer without stickiness, hair without frizz after humidity.
If after several weeks of even very gentle manicures your nails continue to become thinner, crumble, or change color or shape, that is no longer a reason to look for the “strongest” base coat, but a reason to discuss the situation with a specialist.
Conclusion: Which Base Coat Is Usually Best for Thin Nails
In most cases, thin nails do best with a medium-density base coat that offers good adhesion and gentle smoothing, creating a neat, flexible film without heaviness. It should protect from pigment, help polish last longer, and not require aggressive removal. There is no need to hunt for the “most powerful” option: comfort, moderate thickness, predictable wear, and no worsening after removal are far more important.
In short, a good base coat for thin nails is one after which the nails look smoother, become less stained, do not feel extra tension, and do not become more fragile from one manicure to the next. Start with a thin layer, watch how the nail plate reacts, and assess the result not only on the day of application but over several cycles. This calm, practical approach is almost always more useful than loud promises on the label.