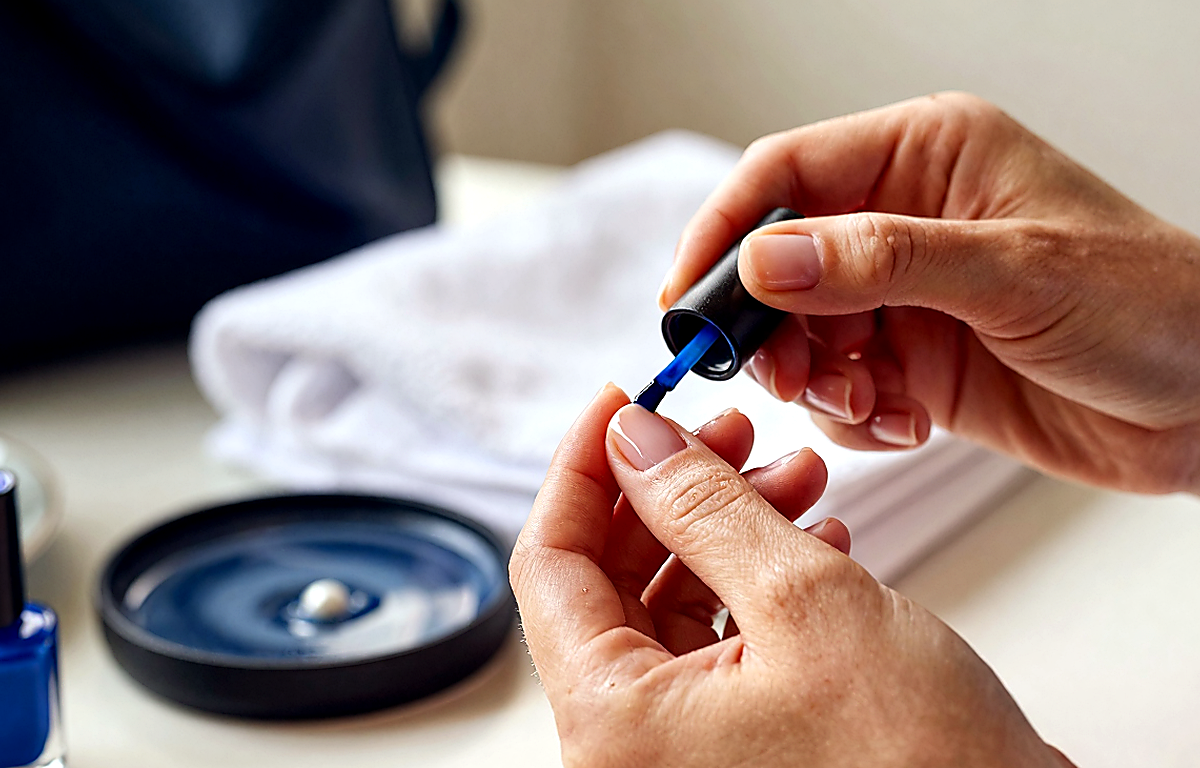
If the nail plate is uneven, the main question is not whether you can paint your nails at all, but what exactly you should check before the first coat. In most cases, the problem is made worse not by the brand itself, but by a combination of three factors: a texture that is too thin or too thick, an unsuitable base, and an application technique that highlights ridges instead of visually smoothing them out. So if you are interested in Essie and nail polish for an uneven nail plate, it makes sense to start by assessing the condition of the nail, the brush, the coverage density, and how the polish behaves in two thin coats rather than one thick one.
In practical terms, this means the following: if you have pronounced vertical ridges, pits, or waves, it is better to choose shades and finishes that do not emphasize the texture, use a smoothing base, and avoid rushing. The polish itself can give a neat, polished result, but only if the nail is prepared without aggressive buffing and the coating goes on evenly and self-levels. If the nail plate has changed suddenly, or if you notice soreness, burning, swelling around the nail, or lifting, the issue may not be cosmetic at all: in such cases, it is best to pause manicures and consult a doctor.
Why an uneven nail plate calls for a different approach to choosing polish
An uneven nail plate behaves differently from a smooth one. Even a beautiful shade can look messy if the coating sinks into ridges, gathers along the edges, or highlights every wave because of its shine. That is why, when choosing nail polish, it is important to look not only at the color but also at how the formula behaves on the nail surface.
Most often, visible unevenness comes from:
- vertical ridges;
- micro-waves after trauma or from a habit of pressing on the cuticle;
- thinning after frequent removal of coatings;
- localized pits;
- dryness and dehydration of the nail plate;
- rough buffing that made the texture even more noticeable under shine.
In this situation, polish is assessed by two parameters: how well it disguises texture and how forgiving it is during application. For an uneven nail plate, formulas that spread without streaking, do not set too quickly near the cuticle, and do not leave bare patches along the sidewalls are especially valuable. If a product requires a perfectly smooth surface, it is more likely to disappoint on a problematic nail plate.
What to check in an Essie polish before buying or before application
With popular brands, including Essie, the decisive factor is not just the brand but the specific formula and the specific shade. Even within one line, different colors can behave differently: some apply almost like an enamel, some are more sheer, and others emphasize texture more because of pearl or a cool glassy shine.
Here is what to check first:
- Texture. A polish that is too runny can flow into ridges and streak. One that is too thick can leave bumps and take a long time to self-level. The best option is a formula that applies thinly without feeling watery.
- Pigmentation level. Sheer shades are beautiful, but on an uneven nail plate they can sometimes make the texture more noticeable. More opaque creamy colors usually conceal imperfections better.
- Finish. A cream, soft jelly, or delicate milky finish often looks smoother than metallic, chunky shimmer, or pearl. Reflective particles can emphasize pits and waves.
- Brush. It matters that the brush fans out well and lets you cover the nail in 2 to 3 strokes without going over the same area repeatedly. The fewer extra passes, the lower the risk of streaks.
- Self-leveling. A good polish pulls the surface together after a few seconds and softens visible brush marks. For an uneven nail plate, this is one of the key criteria.
- Compatibility with the base. Sometimes the polish is good on its own but clashes with a particular base: it can bunch up, slide around, or leave bald spots. Before an important day, it is better to do a test manicure on one nail.
In short: if the nail plate is uneven, it is safest to look for medium opacity, a creamy texture, and shades that do not require a perfectly sheer, ultra-precise application.
Which shades and finishes look better, and which ones emphasize texture
One of the most underestimated points is the choice of finish. Many people assume any nude will solve the problem, but that is not always the case. Cool-toned sheer beige and milky shades can sometimes make ridges more visible because they distribute unevenly and change color density from different angles.
Usually, the most flattering options are:
- medium-opacity creamy pink-beige shades;
- muted pinks and dusty rose;
- soft taupes and gray-beige shades;
- classic red creams without pearl;
- berry and wine-toned creams applied in thin coats.
It is better to be more careful with these options:
- pearl and frosty shine;
- metallics;
- very sheer milky shades;
- chunky shimmer;
- neons and very light pastels if they tend to streak.
Why does this happen? Any light-reflective finish works like a magnifying glass for texture. Where the nail is smooth, that can be beautiful. Where there are waves and ridges, light hits unevenly and makes the surface look bumpier. That is why, for an everyday neat manicure on an uneven nail plate, calm cream formulas are usually the better choice.
If you want a light, natural-looking manicure, it is better to choose a nude that is not fully sheer but softly covering, giving even color by the second thin coat. It looks delicate while not emphasizing texture as clearly as a sheer glossy finish.
The base matters more than it seems: what is often essential for a smooth result
Even a good polish rarely saves the situation without the right base. The base is what fills in small irregularities, reduces direct contact between the colored coating and the nail plate, and helps the polish apply more predictably. If the texture concerns you, a regular clear base is not always effective enough: sometimes a ridge-filling option is exactly what you need.
What is important to understand about the base:
- A smoothing base is needed if the ridges are visible even without polish. It creates a smoother foundation and reduces how much colored polish has to do to disguise the texture.
- A thin layer of base works well for mild unevenness. If you overdo it, you can get the opposite effect: pooling and slow drying.
- Two very thin coats can sometimes work better than one thick one, especially if you need to fill fine vertical ridges.
- A tinted camouflage base may be more convenient if you wear sheer shades and want the surface to look more even overall.
It is important not to confuse smoothing with aggressive buffing. Heavily buffing the nail to grind away ridges is a bad idea: it can thin the nail plate, make it more sensitive, and make it look even more obvious under polish. The cosmetic goal is not to erase the nail, but to help the coating sit more beautifully and gently.
If you paint your nails often, it is also worth paying attention to the condition of the cuticle. A dry, traumatized area at the base of the nail visually intensifies the sense of unevenness. Regular cuticle oil and gentle pushing back work better than harsh trimming before every manicure.
Application technique: how to paint an uneven nail plate so the polish does not highlight flaws
Even a well-chosen polish can be ruined by the wrong technique. On an uneven nail plate, traces left by too much product, repeated brush passes, and attempts to fix the coating after it has already started to set are especially noticeable.
A practical approach usually looks like this:
- Degrease the nail gently, without over-drying it.
- Apply a thin layer of base and let it level out.
- If needed, add a second very thin layer only after the first has dried down fully.
- Load a moderate amount of polish onto the brush: not a dry brush, but not a droplet that will run into the cuticle either.
- Cover the nail in three main strokes: the center, then the sides.
- Do not keep going back over an area that is already starting to dry.
- Apply two thin coats instead of one thick one.
- Seal with a top coat that adds smoothness and visually unifies the surface.
There are also a few small professional tricks. For example, if the most visible ridge runs down the center, it can sometimes help to place the first color stroke slightly off-center and then distribute the polish without pressing the brush into the texture. Another trick is to stop a fraction of a millimeter short of the cuticle: the manicure looks cleaner this way, and irregularities near the base are less noticeable.
If the polish streaks in the first coat, do not try to perfect everything immediately. The first coat can be a little uneven; what matters more is that it stays thin. Very often, the second coat is what creates a neat, uniform result, while trying to make the first coat too opaque usually ends with bumps and long drying time.
When the problem is not the polish: signs that your nails are better off with a pause
Sometimes the question of whether Essie will suit an uneven nail plate hides a more important issue: why the nail plate changed in the first place. If the unevenness appeared suddenly, became more pronounced than usual, or comes with sensitivity, it is not a good idea to reduce everything to a question of coating choice.
It is worth pausing manicures and assessing the situation if you notice:
- pain when pressing on the nail;
- burning after ordinary products;
- redness or swelling around the nail;
- lifting of the nail plate;
- dark, yellow, or greenish color changes;
- pits, cracks, or deformation that were not there before;
- worsening after trauma, illness, or aggressive coating removal.
In such cases, decorative polish does not solve the problem and may simply hide it for a while. If there is persistent burning, pain, swelling, or suspicion of a fungal or other nail disorder, it is better to consult a doctor. Extra caution is also needed during pregnancy, with heightened sensitivity to smells, and if you use retinoids or are undergoing active skin treatment: any potentially irritating procedures during this period are best discussed with a specialist.
If there are no pronounced warning signs but the nails are thinned from frequent manicures, it can help to reduce mechanical stress, avoid peeling off the coating, and focus on gentle care. Sometimes, after just a few weeks of a kinder routine, the texture already looks less severe even under regular polish.
How to assess a specific bottle of Essie at home: a quick checklist before your manicure
Even if you already own the polish, you can quickly check whether it is suitable for an uneven nail plate without doing a full manicure. This is especially useful with popular shades that look beautiful in color but are not always ideal in behavior.
Mini checklist:
- Open the bottle and look at the viscosity. The polish should not stretch in a thick string or look overly watery.
- Assess the brush. It should fan out evenly, without stray bristles or empty-looking edges.
- Do one test stroke on a single nail. See whether harsh streaks remain after 10 to 15 seconds.
- Check self-leveling. If brush marks barely disappear, the polish will require a very smooth base and precise application.
- Assess the shade in daylight. Some nudes look neutral in the bottle or on the hand, but on an uneven nail plate they can turn chalky or emphasize ridges.
- Look at the finish from above and from the side. Side lighting shows best whether the coating makes the texture more pronounced.
If you generally like the polish but it slightly emphasizes unevenness, the issue can often be corrected with the right base and top coat. But if it streaks, shrinks, and makes the surface look worse even on a test nail, do not try to talk yourself into it: for a problematic nail plate, it is better to look for a more cooperative formula.
Mistakes that make even a good polish look worse on an uneven nail plate
Many people blame an unsuccessful result on a bad shade, when the real reason is often preparation and habits. With an uneven nail plate, the cost of mistakes is higher: what might pass unnoticed on a smooth nail becomes obvious here right away.
The most common mistakes are:
- applying polish to an un-smoothed, dry, slightly peeling nail plate;
- using too much product on the brush;
- painting in one thick coat for opacity;
- going back over an area that has partially dried;
- buffing the nail aggressively before every manicure;
- choosing pearl or metallic finishes when you want the smoothest visual effect possible;
- skipping a top coat that unifies the surface and adds optical smoothness;
- removing old coating aggressively and traumatizing the upper layers of the nail.
If you like a neat, editorial-style manicure without extra decoration, it is better to build the result around a well-kept cuticle, an even base, and a calm creamy shade. This approach looks more expensive and cleaner than trying to hide texture with a complex sparkling finish.
By the way, overall care also affects how hands and nails are perceived. When the skin is well cared for, even simple polish looks tidier. In an everyday routine, this works the same way basic facial care does: it is not about one magic product, but about consistent habits. If this approach to beauty resonates with you, you can read the article on how to build a basic skincare routine: the logic of simplicity and consistency translates very well to home manicures too.
Bottom line: is Essie suitable if the nail plate is uneven?
Yes, Essie nail polish can look good on an uneven nail plate, but the name on the bottle is not what decides everything. It is much more important to check the texture, the level of self-leveling, the brush shape, choose a calmer creamy finish, and not skip the smoothing base. In short, the best result usually comes from two thin coats, a moderately opaque shade, and careful technique without extra brush passes.
But if the unevenness is pronounced, appeared suddenly, or comes with pain, burning, swelling, or a change in nail color, it is not something to mask with a new coating. In that case, a beautiful manicure starts not with choosing a shade, but with a pause, gentle care, and, when needed, medical advice. In all other situations, the approach is simple: less aggression, more smoothing, a calmer finish, and even a problematic nail plate can look neat and well cared for.