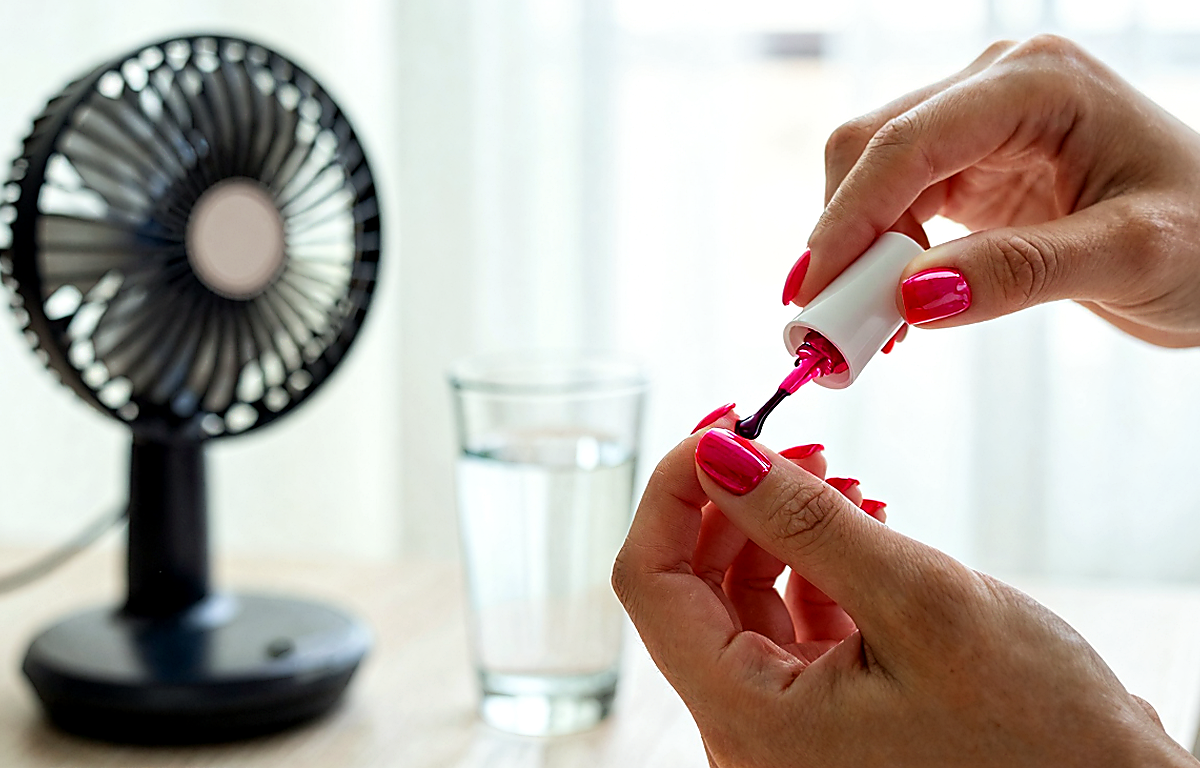
Nail polish dries fastest not because of random hacks, but because of the right sequence: degrease the nail plate, apply a thin base coat, then 2 very thin color coats with 2- to 3-minute pauses, and finish with a quick-dry top coat. If you are really short on time, cool air and special drying drops can help, while a thick polish layer, hot water, and trying to “finish-dry” your manicure with a hair dryer on a warm setting almost always end in dents and a smudged finish.
The main rule of an at-home manicure is simple: the thinner and more even each coat is, the faster it sets and the lower the risk of marks from clothes, hair, and your phone screen. Many people think the polish is already dry if it is no longer tacky on top, but inside the coating stays soft for another 20 to 60 minutes, and even longer with dense or dark shades. So the goal is not only to speed up surface drying, but also to create conditions in which the polish can cure evenly through the full thickness.
Why Nail Polish Takes So Long to Dry and Where Smudges Come From
Regular nail polish dries through solvent evaporation. When the layer is too thick, the top of the film sets first while the bottom stays pliable. On the outside the manicure looks almost ready, but the moment you pull on jeans, fasten your bag, or fix your hair, the coating creases.
There are several reasons drying gets delayed:
- too much polish on the brush;
- applying an opaque shade in one heavy coat instead of two thin ones;
- poorly prepared nails with traces of cream, oil, or old polish left behind;
- high humidity and heat in the room;
- old, thickened polish;
- too many layers: base, 3 coats of color, top coat, and then yet another “rescue” layer on top.
Smudging often does not happen in the first 30 seconds, but 10 to 15 minutes later, when it feels like the dangerous part is already over. That is why it matters to think not only about how to speed up drying, but also about how to organize the whole process without extra movements.
Nail Prep: The Step That Really Saves Time
The paradox of an at-home manicure is that rushing before you apply polish almost always makes drying take longer afterward. If the nail plate is not prepared well, the polish goes on unevenly, floods the sides, needs an extra coat, and ends up taking twice as long to dry.
Before your manicure, it helps to do a short prep:
- Remove the old polish and rinse away any residue thoroughly if your remover leaves an oily film.
- Shape your nails in advance so you do not need to file already painted edges later.
- Lightly buff obvious uneven areas if the nail is ridged. Heavy buffing is not necessary.
- Degrease the nail plate with a dedicated product or a lint-free wipe with nail polish remover.
- Do not apply cream or oil to the nails right before polishing. Leave that care step for the end.
If you recently soaked your hands, let your nails cool down and dry completely first. After prolonged contact with water, the nail plate temporarily swells, and on that kind of surface the coating holds less well and may dry more slowly.
Another practical detail is the temperature of the polish. If the bottle has been sitting in the heat or near a radiator for a long time, the formula becomes runnier and is easier to apply too generously. Room temperature is usually best: the polish spreads evenly and does not run toward the cuticle.
How to Apply Polish So It Dries Faster: A Technique That Works, Without Myths
The most reliable way to speed up drying is to reduce the thickness of each coat. It sounds basic, but this is exactly where the difference lies between a neat manicure in half an hour and endless waiting for something that “really should have set by now.”
A practical routine looks like this:
- 1 thin base coat;
- a 1- to 2-minute pause;
- 1 thin color coat;
- a 2- to 3-minute pause;
- a 2nd thin color coat;
- a 2- to 3-minute pause;
- 1 coat of quick-dry top coat.
It is best to apply polish in three strokes: one down the center and one on each side. There is no need to “smooth” the surface with the brush ten times — that only drags the half-set layer and creates streaks. If the shade is sheer, it is much better to add a third very thin coat later than to apply one dense coat right away.
There are also a few professional details that help noticeably:
- wipe excess polish off on the neck of the bottle instead of carrying a heavy drop onto the nail;
- leave a tiny gap from the cuticle — the finish looks neater and is less likely to flood;
- cap the free edge of the nail with a light touch of the brush, if the length allows;
- do not shake the bottle sharply before application; roll it between your palms instead so bubbles do not form;
- if the polish has thickened, do not try to “stretch” it with a heavy coat — that almost guarantees slower drying.
Quick-dry top coats really do work because they create a smooth finish and help the top layer set faster. But they are not all-powerful: if two dense coats of thick polish are underneath, the coating will still stay soft inside. A top coat speeds things up and improves the result, but it does not replace basic technique.
What Helps Speed Up Drying at Home: Cool Water, Air, and Drying Drops
Once the manicure is done, the next step is to bring it safely to a more stable state. At-home methods work differently, and it helps to understand what to expect from each one.
Cool water. This is one of the most popular methods, but you need to use it correctly. First let the polish set in the air for at least 2 to 3 minutes, and only then dip your fingers into a bowl of cool, not ice-cold, water for 1 to 3 minutes. Ice water will not “seal” a thick layer instantly, while the sudden contact may be unpleasant for sensitive skin. This method helps final setting more than full drying from the inside.
Cool air. If you use a hair dryer, use only the cool setting and keep it at a distance. A warm or hot stream softens the top layer and can shift a coating that has not stabilized yet. A fan or a gentle flow of cool air is milder and safer.
Drying drops or spray. This is genuinely a convenient option for an at-home manicure. These products speed up surface drying and often add extra shine. It is important to apply them according to the manufacturer’s instructions and not use them as a substitute for pauses between coats.
Quick-dry top coat. One of the most useful products if you paint your nails at home often. It lowers the risk of smudging, smooths the surface, and usually makes the finish look more salon-like.
Thin coats instead of “accelerators.” This may not sound like a hack, but it works more reliably than any trick. If you applied the polish properly, you will need fewer emergency measures.
What you should not do is put your hands in the freezer, dry the finish next to an air conditioner with a strong blast, spray it with oil in the first seconds, or hold it over steam. Tips like these are popular online, but they often give unpredictable results.
What Not to Do: Mistakes That Ruin a Manicure at the Last Moment
Sometimes the polish dries normally but still gets smudged because of habits that seem harmless. For the first 20 to 30 minutes after application, it is best to treat your hands as very “busy.”
Common mistakes:
- testing readiness by tapping nail against nail — that can easily leave a dent;
- applying cuticle oil too early, when the finish has not stabilized yet;
- going to bed right after your manicure;
- washing dishes, taking a hot shower, or doing laundry by hand;
- putting on tight jeans, tights, sports leggings, or fastening small buttons;
- holding your phone for a long time, typing, opening jars and containers in the first half hour;
- touching your hair, especially if it sticks to a slightly tacky surface.
Another common mistake is trying to “save” a failed coat by adding a new one on top before the previous layer has dried completely. In the moment it may seem like the fresh polish will smooth everything out, but in reality the coating gets thicker and the waiting time gets longer. If one coat is clearly smudged, sometimes it is more honest to carefully remove the polish from one nail and repaint it than to try to cement the problem in place.
It is also important to remember the formulas of the products you use. If nail polish remover, solvents, or drying products cause intense burning, pronounced redness of the skin around the nails, a rash, or swelling, stop using them. If you have persistent pain, inflammation, signs of infection, skin conditions around the nails, or if you are pregnant or using retinoids, it is better to discuss the choice of aggressive manicure products with a doctor.
Express Routine: How to Do a Manicure in 20 to 30 Minutes Without Regretting It
If you need to paint your nails quickly before going out, get everything ready in advance: base coat, color, top coat, wipes, a correction stick, a degreasing product, and a bowl of cool water. The less you stand up, search for things, and get distracted, the better your chances of keeping the finish intact.
A practical timeline looks like this:
- 5 minutes — remove old polish, file the shape, and degrease the nails.
- 2 minutes — apply a thin base coat.
- 2 minutes — a short pause.
- 3 minutes — the first thin color coat.
- 2 to 3 minutes — pause.
- 3 minutes — the second thin color coat.
- 2 to 3 minutes — pause.
- 2 minutes — quick-dry top coat.
- 2 to 3 minutes — let it air-dry calmly without contact.
- 1 to 3 minutes — cool water or drying drops.
After that, the manicure usually already looks neat and is much less likely to smudge. But if possible, give it another 20 to 40 minutes of gentle treatment: no cleaning, workouts, showering, or falling asleep face-down on the pillow with your hands under your cheek. That reserve of time is what most often decides the fate of the finish.
If you know you are always in a rush, choose creamy, sheer, or jelly textures. They often forgive thin application and look neat faster. The hardest formulas to handle in express mode are usually very opaque white, neon, and dark creams, as well as polishes with dense shimmer that tempt you to apply them more thickly for even color.
How to Make It Last Longer After Drying So the Effort Does Not Go to Waste
Drying your polish quickly is only half the job. If chips appear on the tips the very next day, it will feel as if all the effort was pointless. Durability starts with the same preparation, but there are a few habits that matter especially after a manicure.
- Wear gloves for dishwashing and cleaning.
- Do not use your nails as a “tool” to open packages.
- Refresh the top coat every 2 to 3 days if you want to keep the shine longer.
- Take regular care of your hands and cuticles, but apply oils only after the coating has dried completely.
- Avoid overly long contact with hot water in the first hours after your manicure.
The condition of the skin around the nails also affects the overall look of your hands. When the cuticle is dry and catches easily, even neatly polished nails look less groomed. For everyday care, it helps to keep a light hand cream nearby that absorbs quickly and does not leave stickiness; for the same reason, many people choose comfortable textures for the body in summer as well, without a heavy or filmy feel. This helps maintain a neat look between manicures and does not trigger the urge to touch the finish with your hands right after application.
When It Is Better to Choose a Different Type of Coating
If you keep running into the same problem — regular nail polish smudges even though you follow the technique — the issue may be the format, not you. For some people, sheer strengthening coats, milky nude polishes, or one-coat products are simply more convenient. They dry faster, highlight imperfections less, and are easier to refresh at home.
It makes sense to think about a simpler option if:
- you only have 15 to 20 minutes for a manicure;
- you often paint your nails in the evening right before bed;
- you find it hard to apply thin coats with your non-dominant hand;
- you love very dark shades but are not ready to wait for them to dry fully;
- even a small risk of marks really annoys you.
Sometimes the best way to “dry nail polish fast” is to choose a coating that requires less time and precision from the start. That is not a compromise, but a smart adaptation of your routine to real life.
Short Conclusion
To dry nail polish fast at home without smudging the finish, you do not need a complicated set of tricks. The formula that works is simple: a clean, degreased nail plate, a thin base coat, two very thin color coats, pauses in between, and a quick-dry top coat. For a final boost, cool water, cool air, and special drying drops can help, while thick coats and a hot hair dryer almost always get in the way. If you organize the process in advance and give your manicure at least a little quiet time after application, a neat at-home result is completely realistic even without a salon.